Workday Training in New York City, New York, USA
Workday HCM Course in New York City, New York, USA
Workday HCM Security Groups
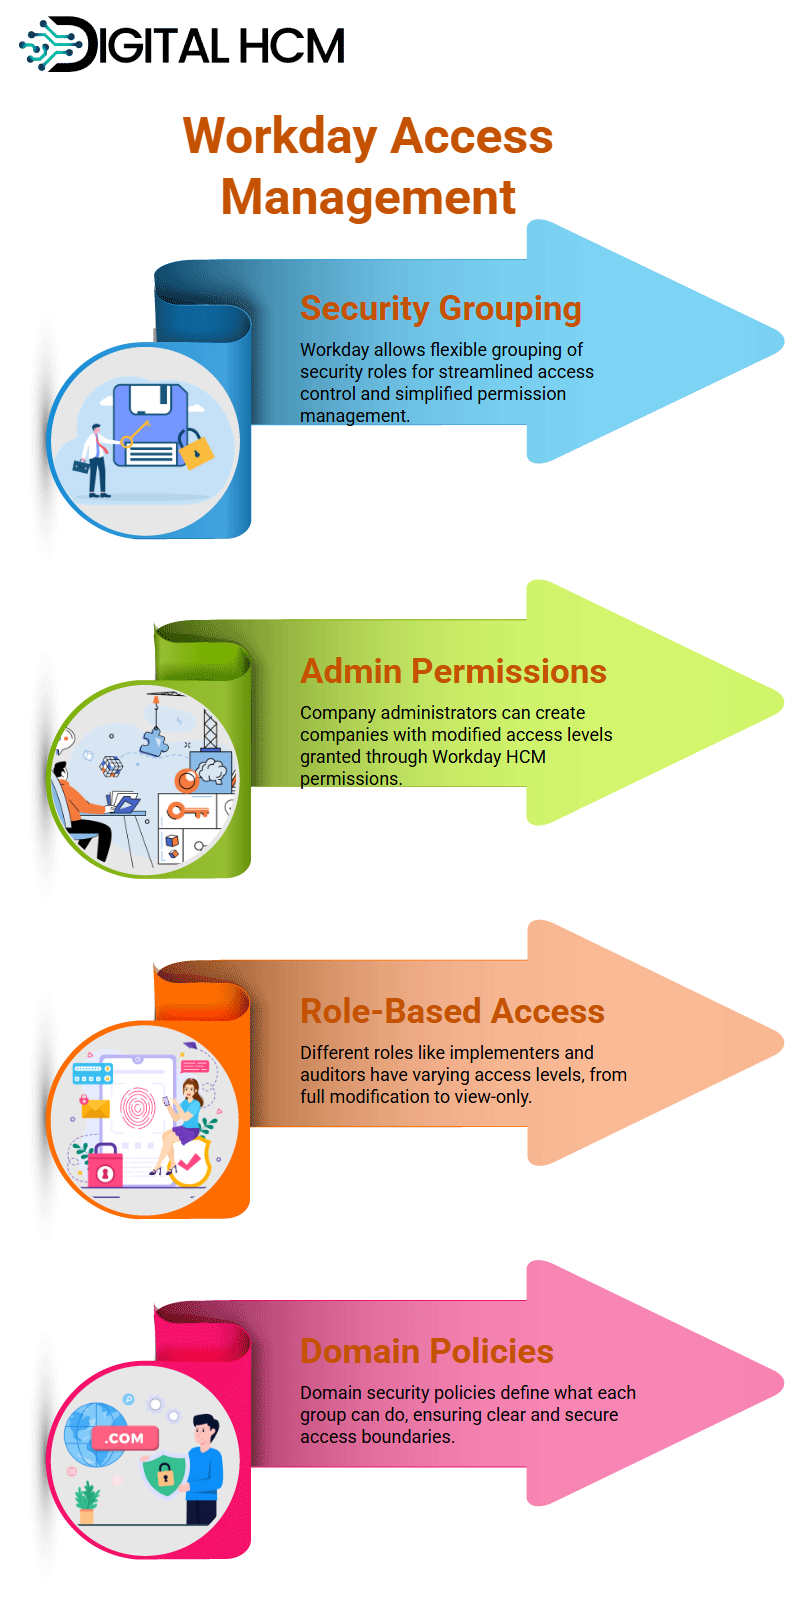
In Workday HCM, organising security groups couldn’t be simpler. You can place multiple security groups into one row of a grid or even add numerous rows yourself for seamless access management within Workday HCM.
This flexibility ensures seamless access management within Workday HCM.
Let’s examine the role of the company administrator within Workday HCM. In their capacity as company administrators, they possess access to create new companies through modified access levels.
Workday HCM specifies that to perform tasks such as creating companies, modified permission must first be obtained through Workday HCM before beginning this task.
When looking at security groups such as company administrators, implementers, and integration administrators, the right access level may become crucial.
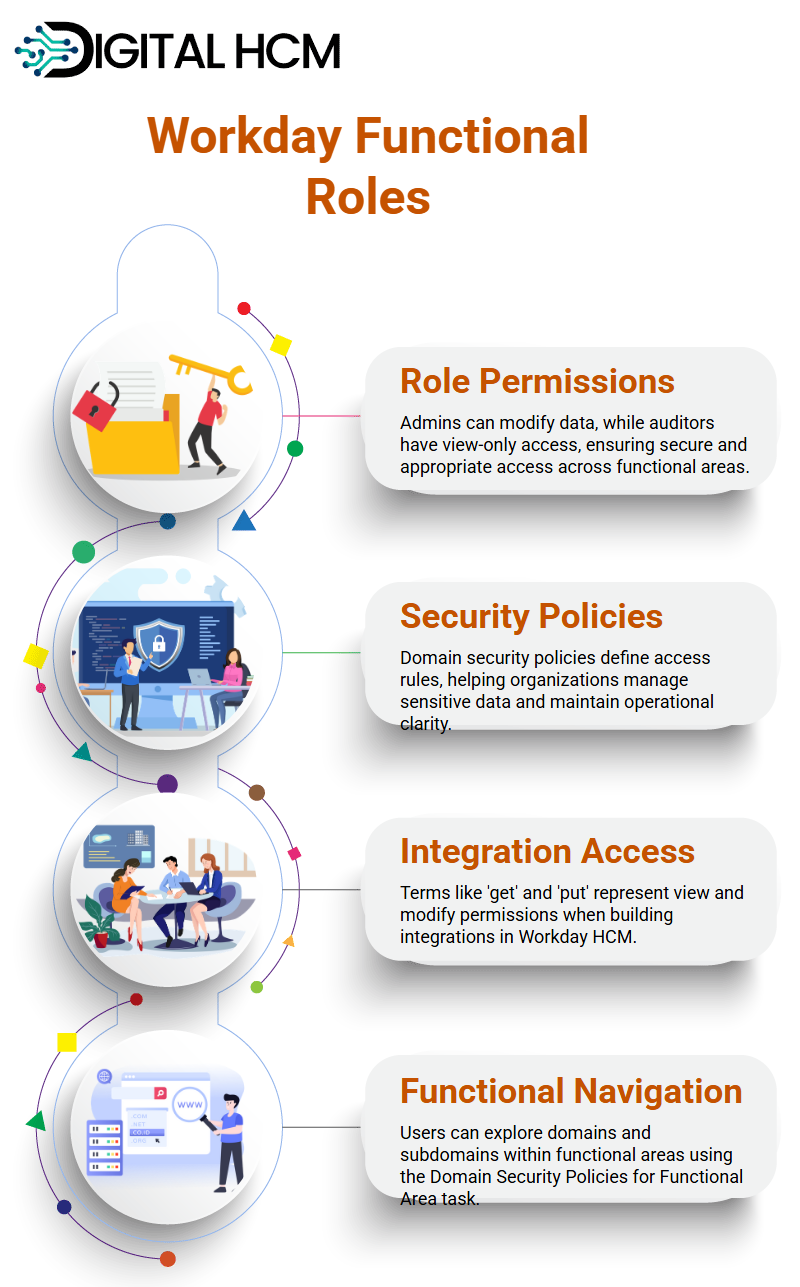
These roles in Workday HCM typically enjoy “view and modify” access. This enables them to perform functions such as company formation.
Conversely, finance auditors and payroll auditors generally only have access to view data in Workday HCM; they cannot create companies themselves.
For anyone interested in enhancing their skills, a Workday HCM Course in New York City can provide valuable insights into these aspects of access management and security roles within the platform.
Domain Security Policies in Workday HCM
Workday HCM’s domain security policies establish the permissions for each security group, outlining what they can and cannot do.
For example, company auditors in Workday HCM have view-only permissions, which prevent them from performing actions such as creating new companies.
These policies are designed to create secure and easily understandable access controls. To illustrate this concept, an experiment was conducted using user proxying in Workday HCM.
By logging in as Josh Wood, an auditor at our company, we discovered that additional permissions could unexpectedly become available, despite the restrictions placed on his role within the Workday HCM Course in New York.
This situation highlights how overlapping roles can complicate user access.
Conducting this experiment demonstrated the importance of these tools in enhancing employee management practices and improving overall employee experiences.
Functional Areas and Roles in Workday HCM
Workday HCM makes navigating its functional areas and their respective roles essential, which is particularly relevant for those taking a Workday HCM course in USA.
As one example of this in its Organisations and Roles area, within which is located a “create company” domain security policy that outlines specific permissions.
Finance and HR auditors in Workday HCM only have access to view data; company admins and integration administrators have full ‘view and modify’ privileges.
Clarity in Workday HCM allows organisations to operate efficiently. Adherence to security policies allows businesses to effectively control access and protect sensitive information.
Permissions in Workday HCM
Insights into how permissions work in Workday HCM can be helpful. When building integrations, terms like “get” and “put” often arise; these refer to viewing access or changing it, respectively.
These terms make more sense when working with web services, as their operations, such as get and put, are clearer than those used when accessing Workday HCM via the browser user interface, where view/modify accesses are often the focus.
These steps are straightforward and essential for efficiently navigating the system.
Domain Security Policies in Workday HCM
An interesting feature in Workday HCM is the Domain Security Policies for the Functional Area task.
This task allows users to explore domains and subdomains within specific functional areas. For example, “Organise Action, Goals & Roles” is one such functional area.
By running this task, it becomes possible to view all domains and subdomains associated with the selected area. In the Workday HCM functional area alone, there are 109 domains and subdomains.
Each is visually represented by icons resembling folders or files, and clicking on a folder reveals additional subdomains beneath it.
This structure significantly simplifies navigation within Workday HCM. If you’re interested in learning more, consider enrolling in a Workday HCM Course in New York City.
Permissions Management in Workday HCM
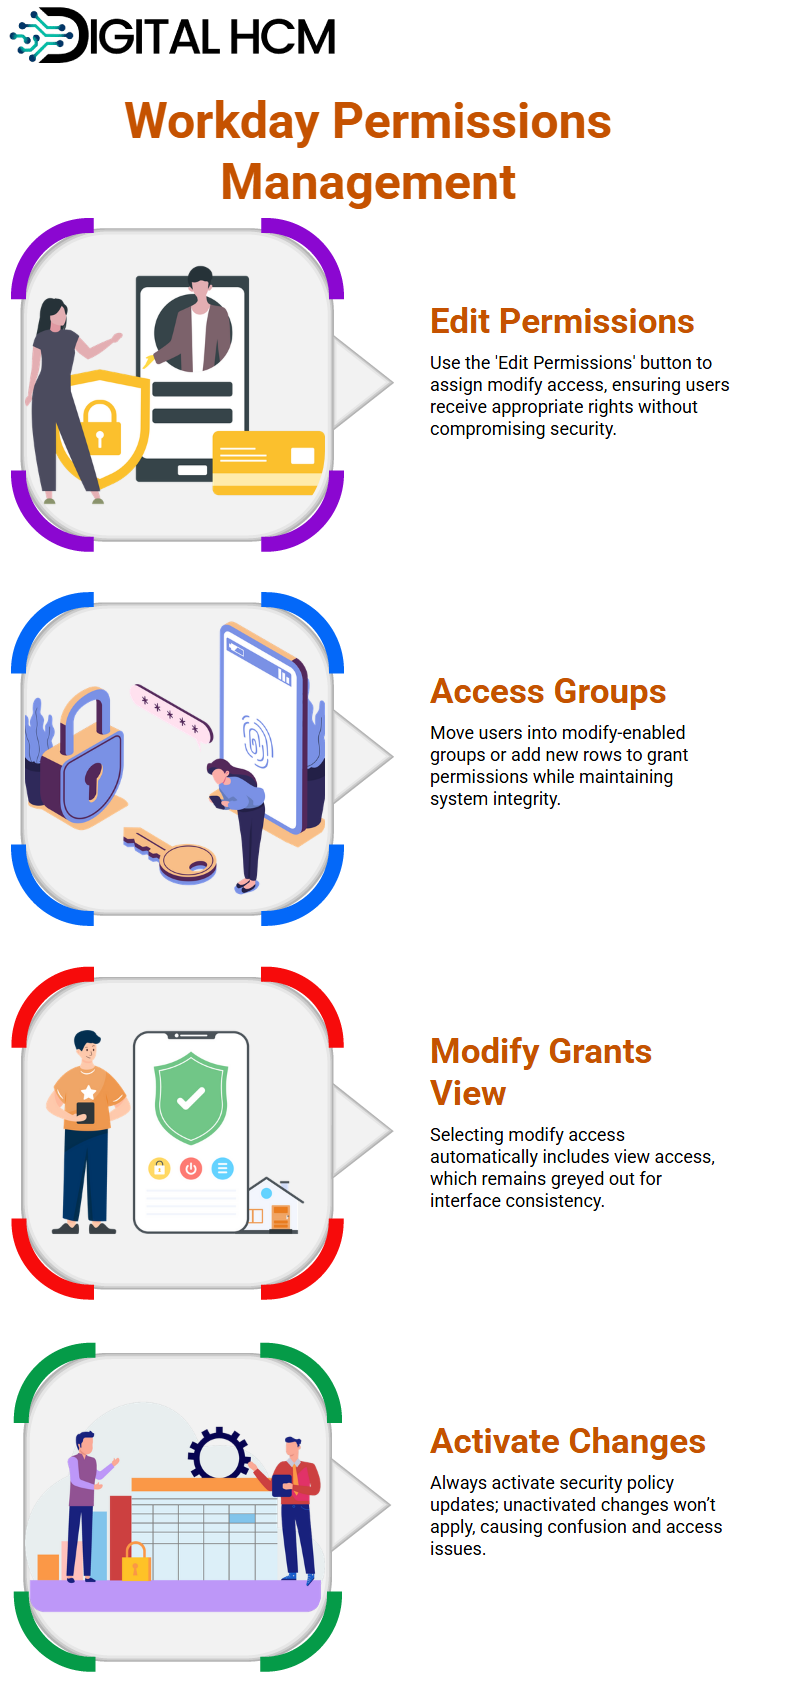
Permissions management is a critical aspect of Workday HCM. For example, to allow finance auditors to create companies, the process would begin by editing permissions using the “Edit Permissions” button located at the bottom of each relevant page.
Only users with the appropriate security roles, such as security administrators, can modify permissions within the Workday HCM Course in the USA.
As Logan can confirm, only those with sufficient access rights can make these changes.
In Logan’s case, finance auditors would be moved into an access group that grants modify access, ensuring they receive the necessary permissions without compromising system integrity.
There are multiple approaches to managing this. One method involves moving users out of their existing group into one that includes modified access.
Alternatively, a new row can be added to assign modify access directly.
It’s important to note that selecting modify access also automatically grants view access, although the view option remains greyed out to preserve consistency in the interface.
Workday HCM Security Policy Changes
Navigating Workday HCM can make managing security policy updates feel complex at times, so it’s important to understand how the process works, especially if you’re taking a Workday HCM course in New York City.
Yellow and orange alerts may appear, indicating that changes must be activated before they take effect; without this crucial step, updates won’t be applied.
Always ensure that any security policy changes are activated, even in production environments.
It’s not uncommon for teams to make changes and assume they’re active, only to later discover that functionality isn’t working as expected.
This often leads to confusion and cycles of emails stating, “Access was granted,” when in reality, the changes were never activated.
Avoid this common pitfall by taking the extra step to activate every change before moving on.
Why Activation Matters in Workday HCM?
Workday HCM makes activation of security policy changes an absolute must. Say, for instance, you change access for creating a company.
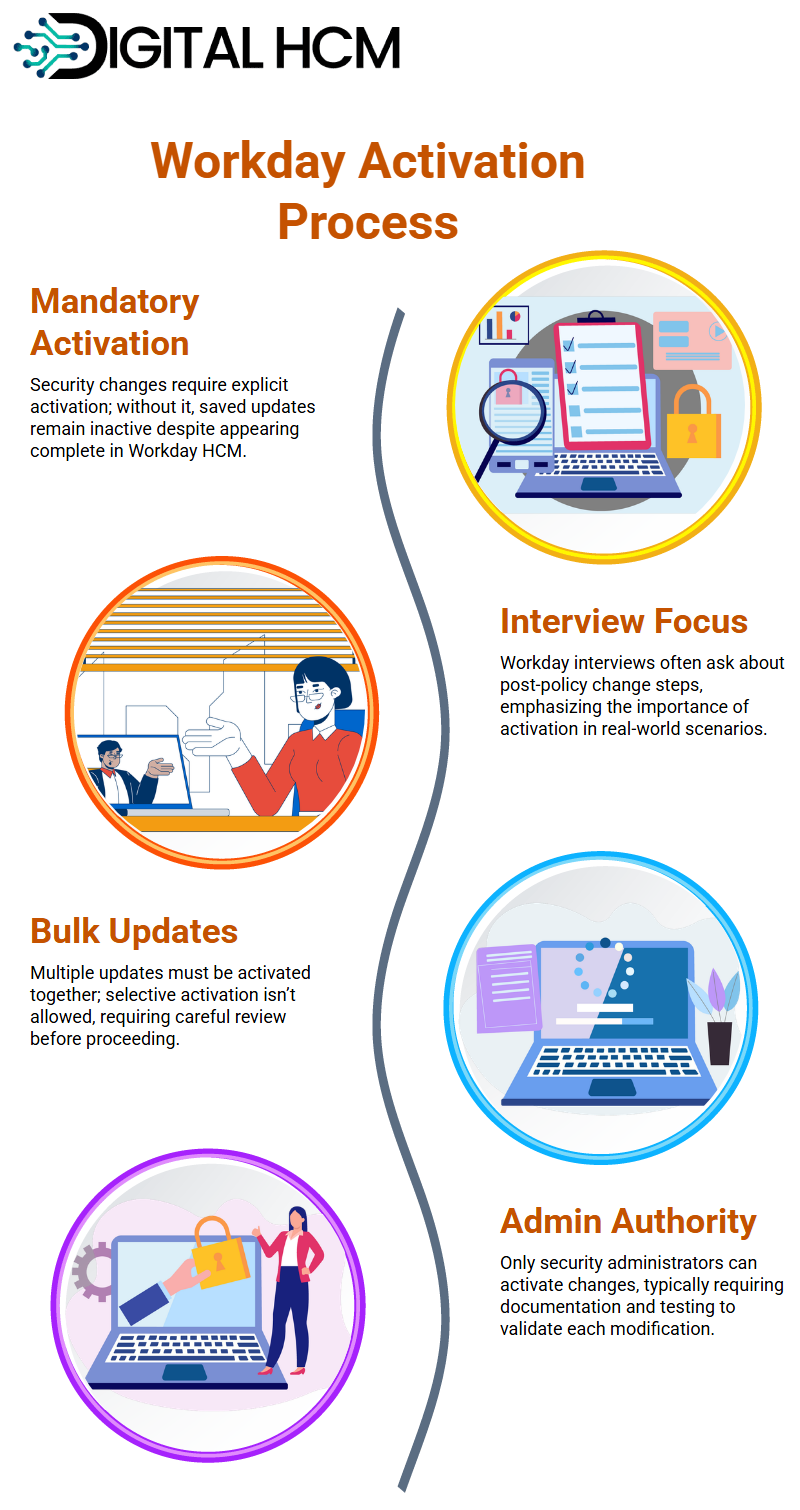
After saving, even after activation occurs, the changes won’t take effect – Workday requires explicit confirmation to implement them!
It can be easy to overlook this step, so stay vigilant. Workday HCM roles often pose this question during their interviews: Recruiters ask, “After making security policy changes, what steps must you take next?” Without activation, all your hard work to create them remains inactive despite your best efforts in setting them up.
Navigating Workday HCM Complex Scenarios
Workday HCM can sometimes present complex scenarios in which multiple security policy updates occur at once, yet only certain updates need to be activated at that moment in time.
Workday requires all updates to be activated immediately rather than selectively activated, so all updates need to be reviewed carefully and approved before proceeding with anything further.
Security administrators alone have the authority to activate any proposed changes within Workday HCM, typically by requiring supporting documentation for every modification that needs activating and testing results to validate its efficacy.
It’s a careful and detailed process, but it ensures safety and integrity within Workday HCM.
Workday HCM Functional Areas
As exploration continues, these functional areas quickly become essential components. Each functional area contains domains and business processes, each with individual security policies that govern access to specific elements or features within Workday.
Security policies in Workday HCM are strictly managed in production environments to maintain control and operational efficiency.
These policies cannot be arbitrarily activated, a limitation designed to help ensure the system runs smoothly and effectively.
Creating Workday HCM Roles
Workday HCM role creation covers everything from setting up managers, compensation partners, and benefits partners to efficiently managing assignable roles.
The process begins with using Workday HCM’s essential ‘Maintain Assignable Roles’ task, rather than immediately creating assignable roles from scratch.
Take, for example, the creation of the WW Compensation Partner role. This role can be customised to align with specific organisational requirements.
It simply needs to be added as WW Compensation Partner and assigned to the appropriate supervisory organisations where it is intended to apply.
Assigning Workday HCM Roles
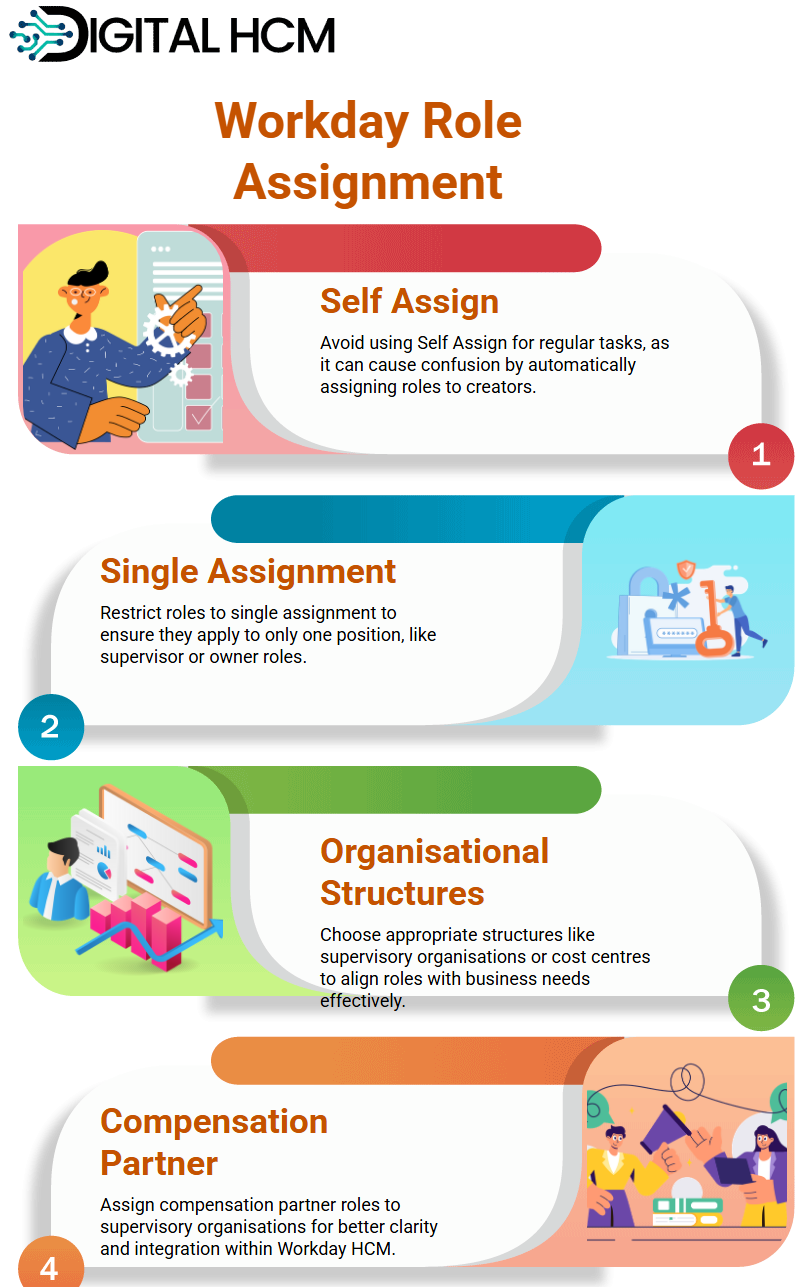
Assignment of roles within Workday HCM requires great care in execution. Parameters like ‘Self Assign’ and ‘Restricted to Single Assignment’ play an instrumental role in managing how assignments are managed – for instance, enabling “Self-Assign” automatically assigns the creator a role when creating roles; but this feature should be avoided for regular tasks within Workday HCM.
As noted above, restricting roles to single assignment ensures they only apply to one position within your organisation, such as assigning supervisor or owner roles.
Both features showcase Workday HCM’s flexibility and control capabilities. If you’re looking to enhance your skills, consider enrolling in a Workday HCM Course in New York City.
Workday HCM Organisational Structures
Workday HCM offers various organisational structures, such as supervisory organisations, cost centres or location hierarchies.
Finding the appropriate structure is paramount – in roles like compensation partner’s it may make the most sense to utilise supervisory organisations to maintain clarity and optimal functioning within Workday HCM.
Attribute compensation partner roles to cost centres if desired; however, supervisory organisations typically benefit more from having such roles associated with them and fitting more naturally within Workday HCM’s practical application.
This decision impacts how roles interact within their broader organisational framework.
Best Practices for Workday HCM
Experience with Workday HCM highlights the importance of avoiding common errors to ensure smooth operations.
For example, misuse of features like “Self-Assign” can lead to unnecessary confusion within Workday HCM processes.
Maintaining meticulous attention to detail is essential for effective use of the platform. It’s important to use features such as Self Assign and Restricted Single Assignment thoughtfully to promote efficiency and accuracy within the Workday HCM Course in USA.
Workday HCM Supervisory Organisations
Let’s delve deeper into the concept of supervisory organisations in Workday HCM.
Most supervisory organisations are typically led by a single manager; however, interviewers sometimes pose an interesting question: Can a supervisory organisation have multiple managers? The answer is yes, and here’s an example to illustrate how this works in practice.
Consider a production facility where operations run across multiple shifts. In such an environment, having only one manager may not be practical.
For instance, if an employee working the night shift submits a time-sensitive request, such as for leave, and the assigned manager is only available the following morning, this delay can hinder efficient workforce management.
Workday HCM Course in New York City supports this scenario by allowing the assignment of multiple managers to a single supervisory organisation, one for each shift.
This ensures consistent and timely support for employees across all operational hours, enhancing overall management effectiveness.
Configuring Workday HCM Multiple Managers
Utilising Workday HCM makes adding multiple managers for one supervisory organisation easy.
By unchecking an option labelled ‘Restricted to Single Assignment,’ multiple positions may be assigned within that role, allowing you to accommodate various managers within one organisation.
On the other hand, leaving this option checked restricts roles to only one position at once.
Typically, this setting is used by organisations who wish to limit managerial positions to just one person at once; but if your organisation requires multiple managers at the same time, it’s easy enough to uncheck this box within assignable roles to add more managers as required.
Optimising Workday HCM Organisational Roles
A handy tip when working with Workday HCM is its feature called ‘Hide on View If Not Assigned.’
This prevents clutter by hiding unassigned roles from view – something which would otherwise become overwhelming with up to 800 or 900 roles sitting unfilled! Activate this feature instead so that only assigned roles appear, making your workflow much smoother!
Workday HCM Course in New York City allows you to designate roles as leadership or supporting, providing additional clarity and transparency into the organisational hierarchy.
A managerial position typically falls into this category. By activating an option such as including their name in the organisation name, such as Executive Management by Daniel Sloan, Workday HCM displays this leader with pride! This adds clarity and transparency.

Workday HCM for Supportive Roles
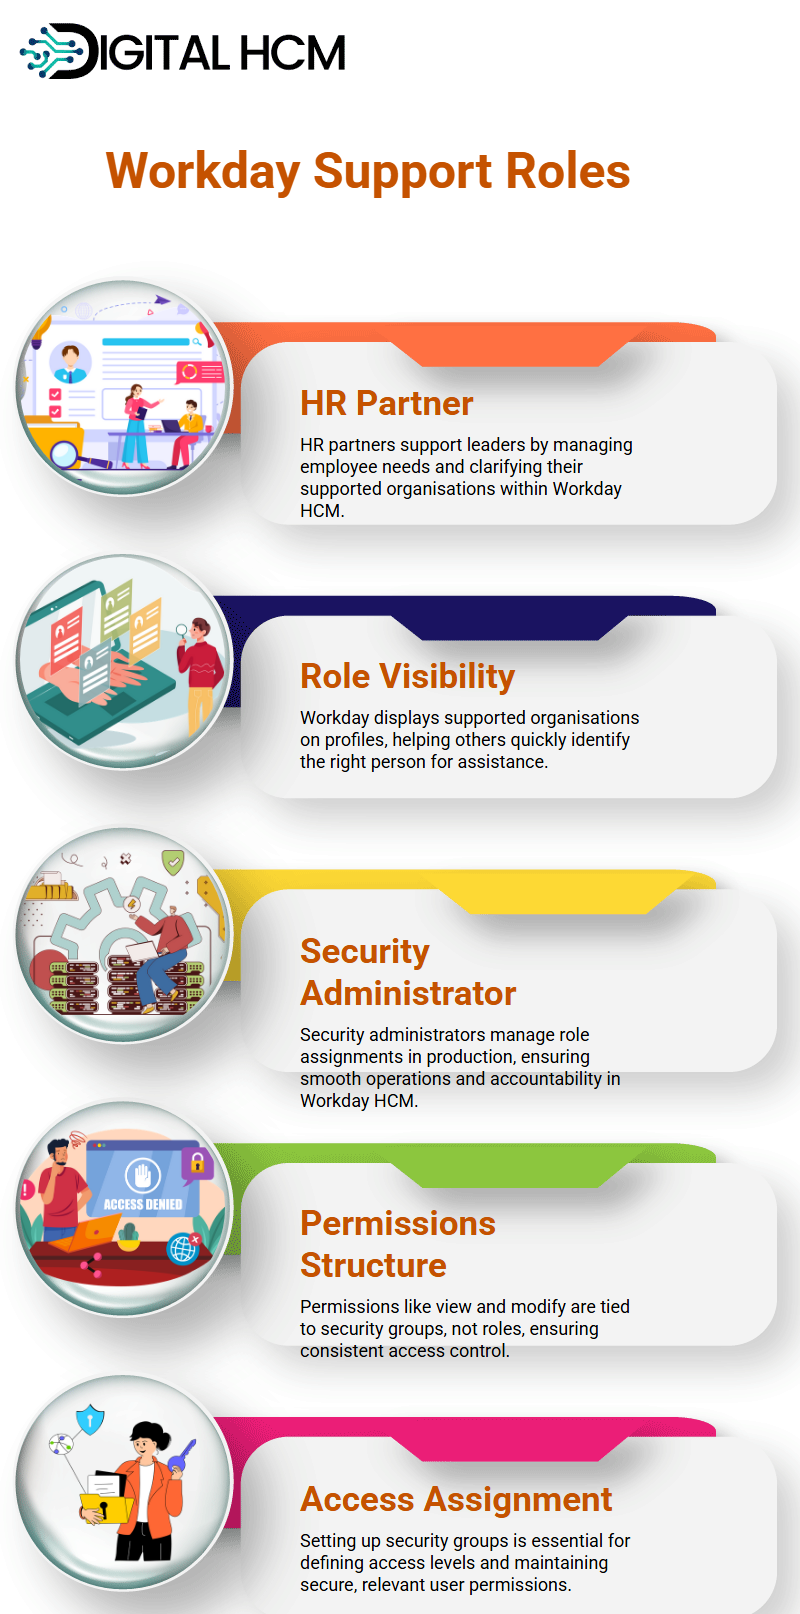
Let’s delve deep into Workday HCM and examine its capabilities of aiding various roles within an organisation. Suppose that as an HR partner, your responsibility lies in aiding managers and leaders with taking care of employees.
Workday HCM is here as your ally, clearly distinguishing leadership versus supporting roles, making workflow more streamlined than ever.
As an HR partner, your profile in Workday HCM should highlight which organisations you support, making navigation and collaboration much simpler.
Say someone approaches you for assistance, thinking you work at one specific organisation – with just a glance at their worker profile, they will quickly know if this person should approach.
Security Roles in Workday HCM
This overview explains how security roles are administered in Workday HCM, particularly regarding the assignment of roles and permissions using Workday HCM tools.
Typically, a security administrator is appointed to manage these role assignments in production systems, ensuring seamless operations.
During training, these assignments may be performed firsthand; however, in practice, the security administrator plays a critical role.
It is impressive how Workday HCM maintains accountability and clarity within its security structure.
Permissions and Workday HCM Security Groups
A common miscommunication within Workday HCM involves roles vs security groups versus permissions; permissions such as view and modify access rights belong exclusively to security groups rather than individual roles – an important feature which helps streamline management of access rights.
Navigating Workday HCM will reveal domain security policies with an emphasis on security groups rather than roles as being what sets Workday apart, providing reliable permissions application that are consistently and accurately applied across users and roles.
This ensures consistent permission application throughout. Understanding Workday HCM Security Groups.
After creating roles in the Workday HCM Course in New York City, one of the next steps involves setting up security groups – this step is critical to effectively define access levels.
Without it, however, your access levels won’t be managed effectively and define access restrictions accordingly.
Assigning permissions in Workday HCM security groups is key for user security and ensuring they can only gain access to what is relevant for them.
Tomorrow we’ll dive deeper into this process hands-on; be wary of trying to hurry through it, as multiple aspects and settings must be carefully considered during this step.
Workday HCM Security Permissions
Security can seem intimidating at first, but take heart knowing you are not alone! Many find the concept challenging at first, but when we go step by step through it, everything becomes much clearer.
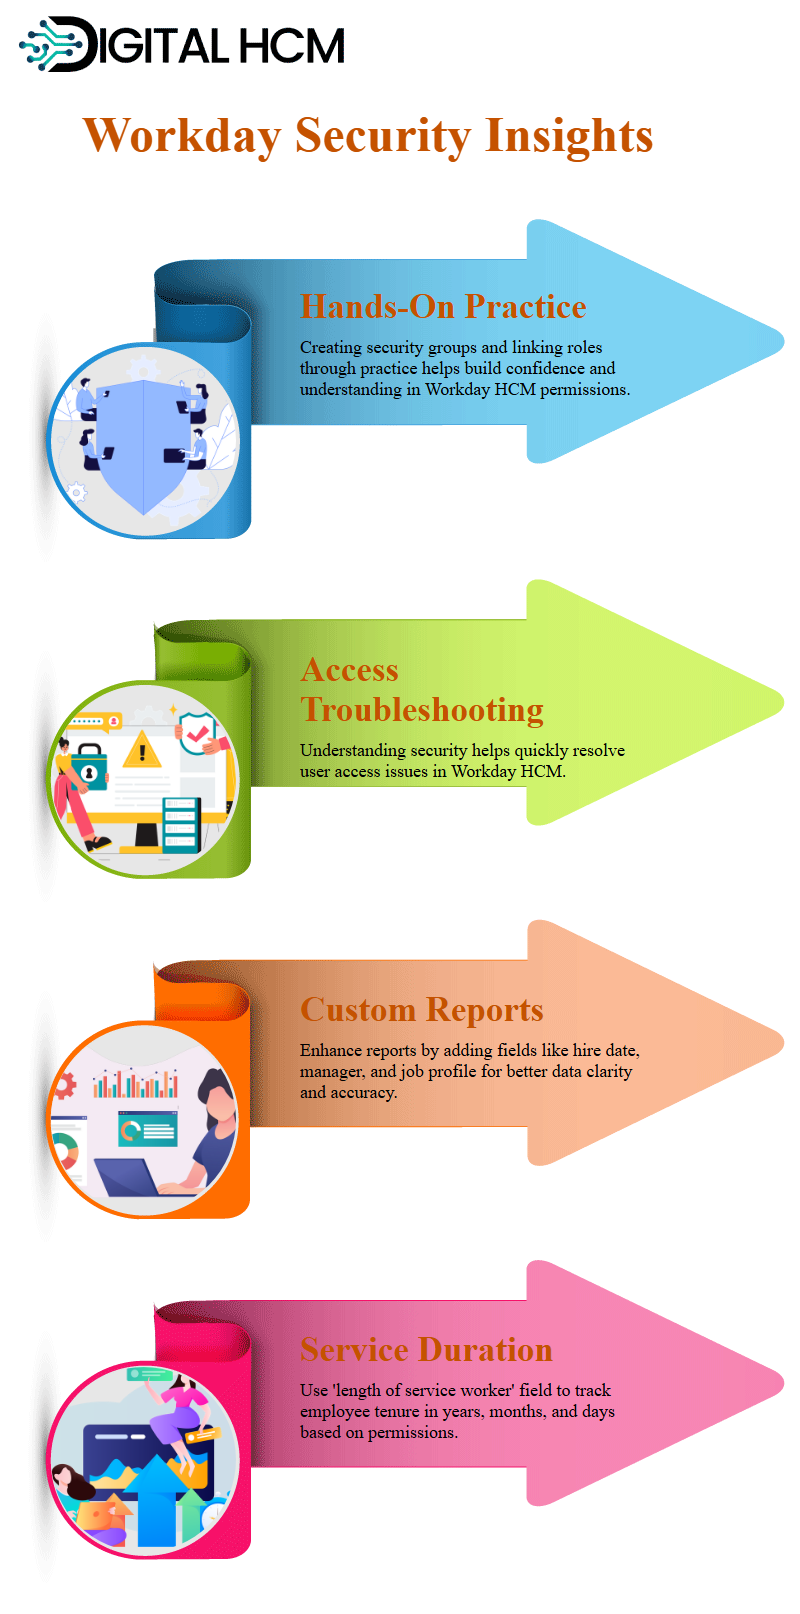
Hands-on practice makes all the difference! Tomorrow, we will create a security group and link it with roles.
By assigning permissions directly through Workday HCM security groups, this approach helps cement your understanding.
Impact of Workday HCM Security
Understanding Workday HCM security is of utmost importance, as something you will manage daily.
Users might come to you complaining they can’t access certain features or tasks – knowing how security works gives you the power to quickly address such problems efficiently.
Enhancing Workday HCM with Custom Reports
Enhancing the Workday HCM experience through custom reports can significantly improve data insights.
Initially, only the worker’s name and first name were available in the dataset, which wasn’t sufficient for a comprehensive report.
To improve the dataset, additional fields were incorporated. The first field added was the hire date, a crucial piece of information to understand when a worker joined the organisation.
Next, the first-line manager was included. Adding the manager’s information provides a clearer view of the reporting structure within the Workday HCM Course in USA.
Another key field introduced was the job profile. Since every worker in Workday HCM must have a job profile, its inclusion ensures data accuracy and completeness.
To monitor tenure, the ‘length of service worker’ field was added. Delivered by Workday HCM, this field displays the duration of a worker’s service in years, months, and days.
It is accessible based on permissions for the worker’s data. For instance, durations might appear as ’22 years, 3 months, and 19 days’ or ‘0 years, 4 months, and 16 days.’
Workday HCM Calculated Fields
Let’s discuss calculated fields in Workday HCM. To extract specific information from the length of service data, specifically the number of years, the ‘Substring Text’ function was used, since the length of service is a text field.
A calculated field called CFW Substring Text was created for this purpose. The source text field used was the Length of Service Worker field.
The substring type was defined to read data at a fixed position, allowing only the first two characters representing the years to be extracted from the full length of the service string.
This technique can be applied beyond just extracting years. For instance, given a name like Logan McNeal, calculated fields can be set up to extract the first character of the first name and the first three characters of the last name, resulting in something like LMCN.
Workday HCM’s flexibility with calculated fields opens up numerous possibilities for customising reports and presenting data in a more meaningful way.
Discovering Insights with Workday HCM
When working with Workday HCM, exploring data becomes a fulfilling journey. Imagine a scenario where certain elements need to be extracted, such as identifying employees with over five years of service.
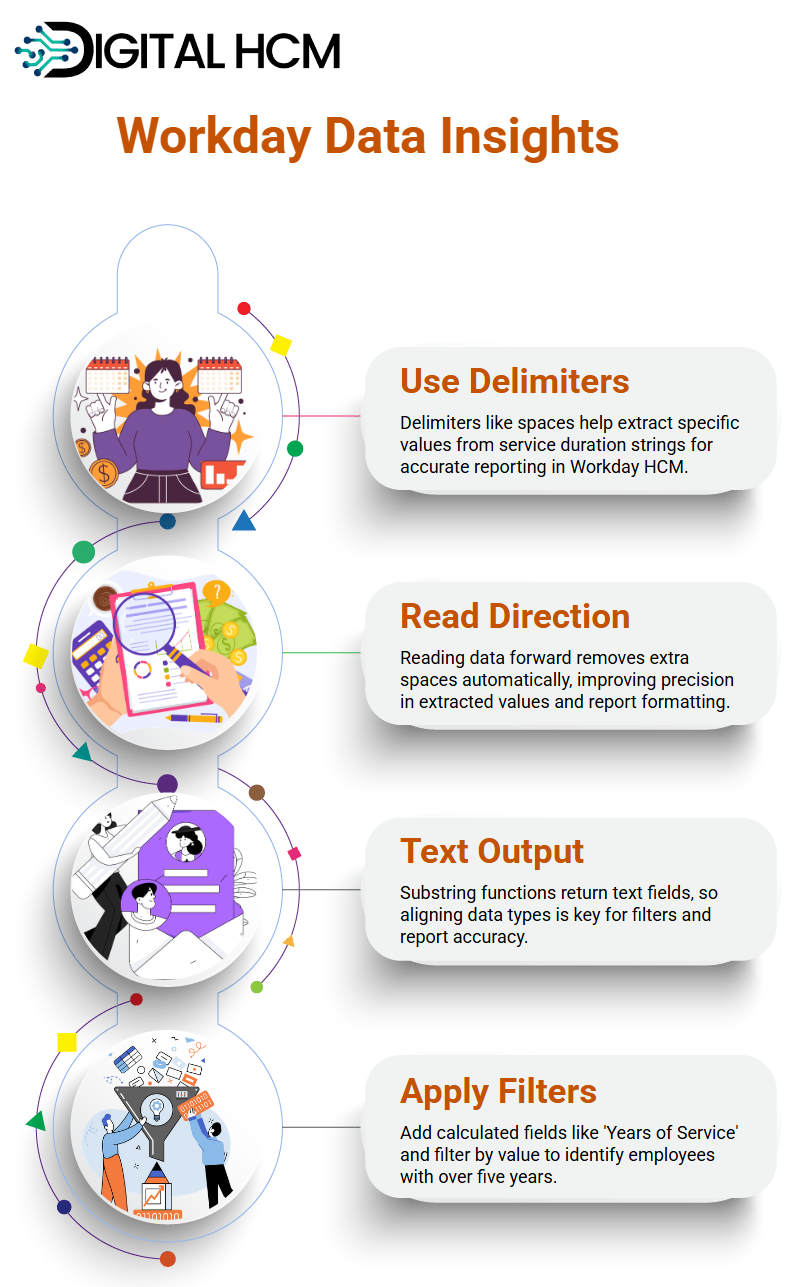
The process begins by analysing how data is structured. In Workday HCM, delimiters play a crucial role.
For instance, while extracting values like ’10 years 4 months 6 days’ or ’22 years 4 months,’ a space is used as the delimiter, helping to focus seamlessly on the first numeric value. Fascinating, isn’t it?
Choosing the direction for reading the data forward or backward is also vital. In this case, reading forward simplifies the removal of leading and trailing spaces automatically.
These small adjustments make a significant impact in achieving accurate results within Workday HCM.
Additionally, ensuring that the data type is properly aligned is essential. Substring functions in Workday HCM always yield text fields.
Recognising this aspect enables the addition of necessary attributes to reports and the efficient setup of required filters.
Filtering Workday HCM Data Effectively
In Workday HCM, filtering data for meaningful insights is remarkably intuitive. The objective was to identify workers with more than five years of service.
By adding the calculated ‘Years of Service’ to the report and setting up a filter (e.g., greater than or equal to five), the results were fine-tuned effortlessly.
Testing the data in Workday HCM revealed 18 workers who met the criteria. Granular details like ‘9 years 2 months 9 days’ or ‘8 years 11 months’ highlighted the depth of insight available, demonstrating why Workday HCM is indispensable in data management.
Interestingly, some anomalies prompted further examination. For example, despite the filter condition being ‘greater than or equal to 5,’ certain cases, such as Logan with 22 years of service, did not appear in the results.
Such occurrences underscore the importance of reviewing configuration settings and investigating potential glitches to ensure accurate data extraction.
Filters in Workday HCM
Workday HCM involves the filtering of employees based on their years of service. The goal is to identify individuals with over five years of experience.
While the task may seem straightforward, unexpected issues can arise when comparing data fields.
A report was recently created in Workday HCM with a filter set to “greater than or equal to five,” intending to display all relevant employees.
However, some records were unexpectedly missing. For instance, Logan McNeil, who has an impressive 22 years of service, did not appear in the report. This discrepancy raised concerns.
Identifying the Problem in Workday HCM Reports
Everything in Workday HCM was double-checked. The operator ‘greater than or equal to’ was expected to work correctly.
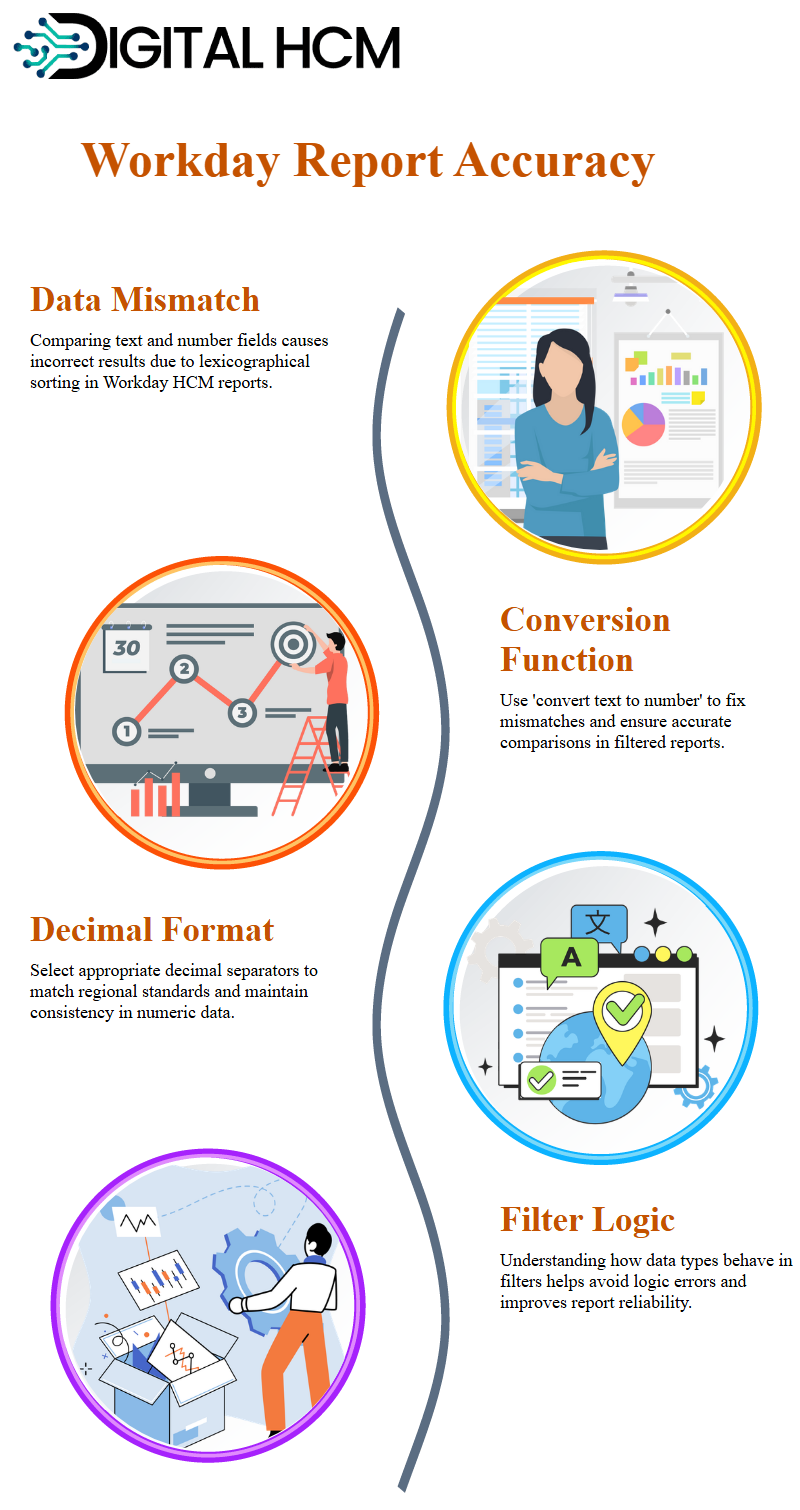
However, despite the filter being set properly, the report returned incomplete results. Further investigation revealed the root cause: a data type mismatch. The comparison involved a text field and a number field.
In Workday HCM, text fields behave differently during comparisons. Numbers stored as text are evaluated in lexicographical order rather than numerical order.
For example, ’22’ as text might be sorted between ‘2’ and ‘3’. As a result, Logan’s 22 years of service appeared to be less than five years in the report.
Data Conversion in Workday HCM
Workday HCM provides a built-in function to perform this conversion. By using the ‘convert text to number’ function, the issue is resolved seamlessly, ensuring accurate results.
The report was updated by applying this conversion to the relevant field. Additionally, the appropriate decimal format was selected to maintain consistency.
In some regions, a comma is used as a decimal separator, while in others, a period is standard. Workday HCM allows for customisation to match regional formatting requirements.
Key Learnings from Workday HCM Data Filtering
This experience taught me the importance of understanding data types and their behaviour in Workday HCM.
By paying close attention to these details, you can avoid logic errors and ensure your reports deliver the intended results.
Workday HCM is a powerful tool, but like any system, it requires us to adapt and learn its nuances.
Whether it’s configuring filters or troubleshooting reports, having a good grasp of its capabilities makes a huge difference.
Workday HCM and Data Alignment Insights
Have you ever wondered about the importance of accurate comparisons in Workday HCM? One key aspect is understanding how to handle different data types, like text and numbers, when working on reports.
Let’s explore an interesting observation related to aligning data in Workday HCM. For example, in Workday HCM, the alignment of data fields reveals valuable insights.
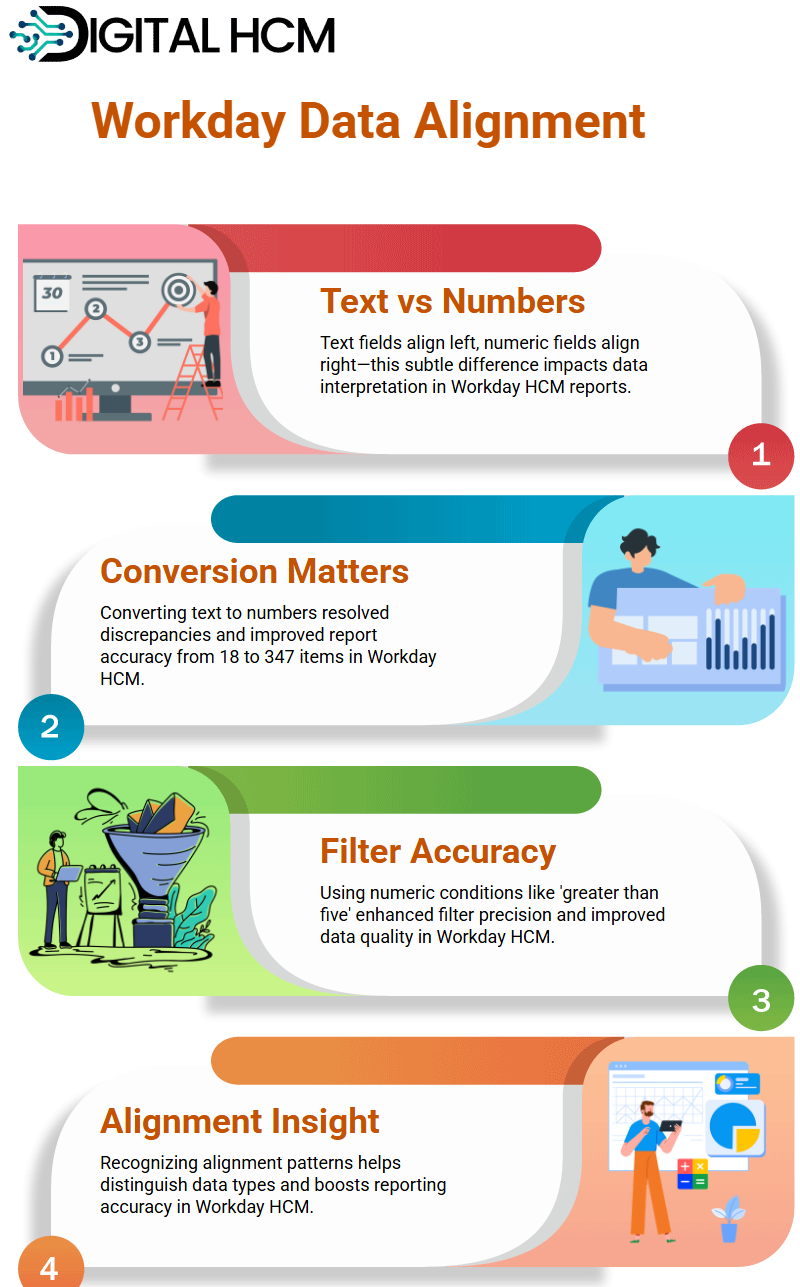
Text fields are naturally left-aligned, while numeric fields are right-aligned.
This distinction might seem minor, but it can significantly impact reporting. Comparing a text field to a numeric one in Workday HCM can produce completely misleading results, leading to confusion and potentially derailing the accuracy of the analysis.
Converting Text to Numbers in Workday HCM
In Workday HCM, an issue arose requiring the conversion of text into numbers for a report. By utilising the correct functions, the discrepancies were resolved.
The steps were straightforward: edit the report, add the converted field, and adjust the filters. The outcome was a significant improvement, transforming a report that initially showed only 18 items into one with a fully accurate dataset containing 347 items.
Workday HCM Course in USA demonstrated its efficiency once the available tools were properly leveraged.
Creating Reliable Filters in Workday HCM
Filters can make or break your reports in Workday HCM. Initially, my filter wasn’t working as expected.
By introducing a field converted from text to numbers and setting the condition to ‘greater than or equal to five,’ the data quality improved drastically.
Workday HCM allowed me to refine the filter and bring accuracy to the forefront.
Learning from Workday HCM Alignment
One small but fascinating detail in Workday HCM is how data alignment helps differentiate between text and numeric fields.
Text fields default to left alignment, while numeric fields lean right. This subtle distinction can be an unspoken guide as you navigate Workday HCM reports. Spotting this difference quickly becomes second nature with experience.
Valuable Functions in Workday HCM
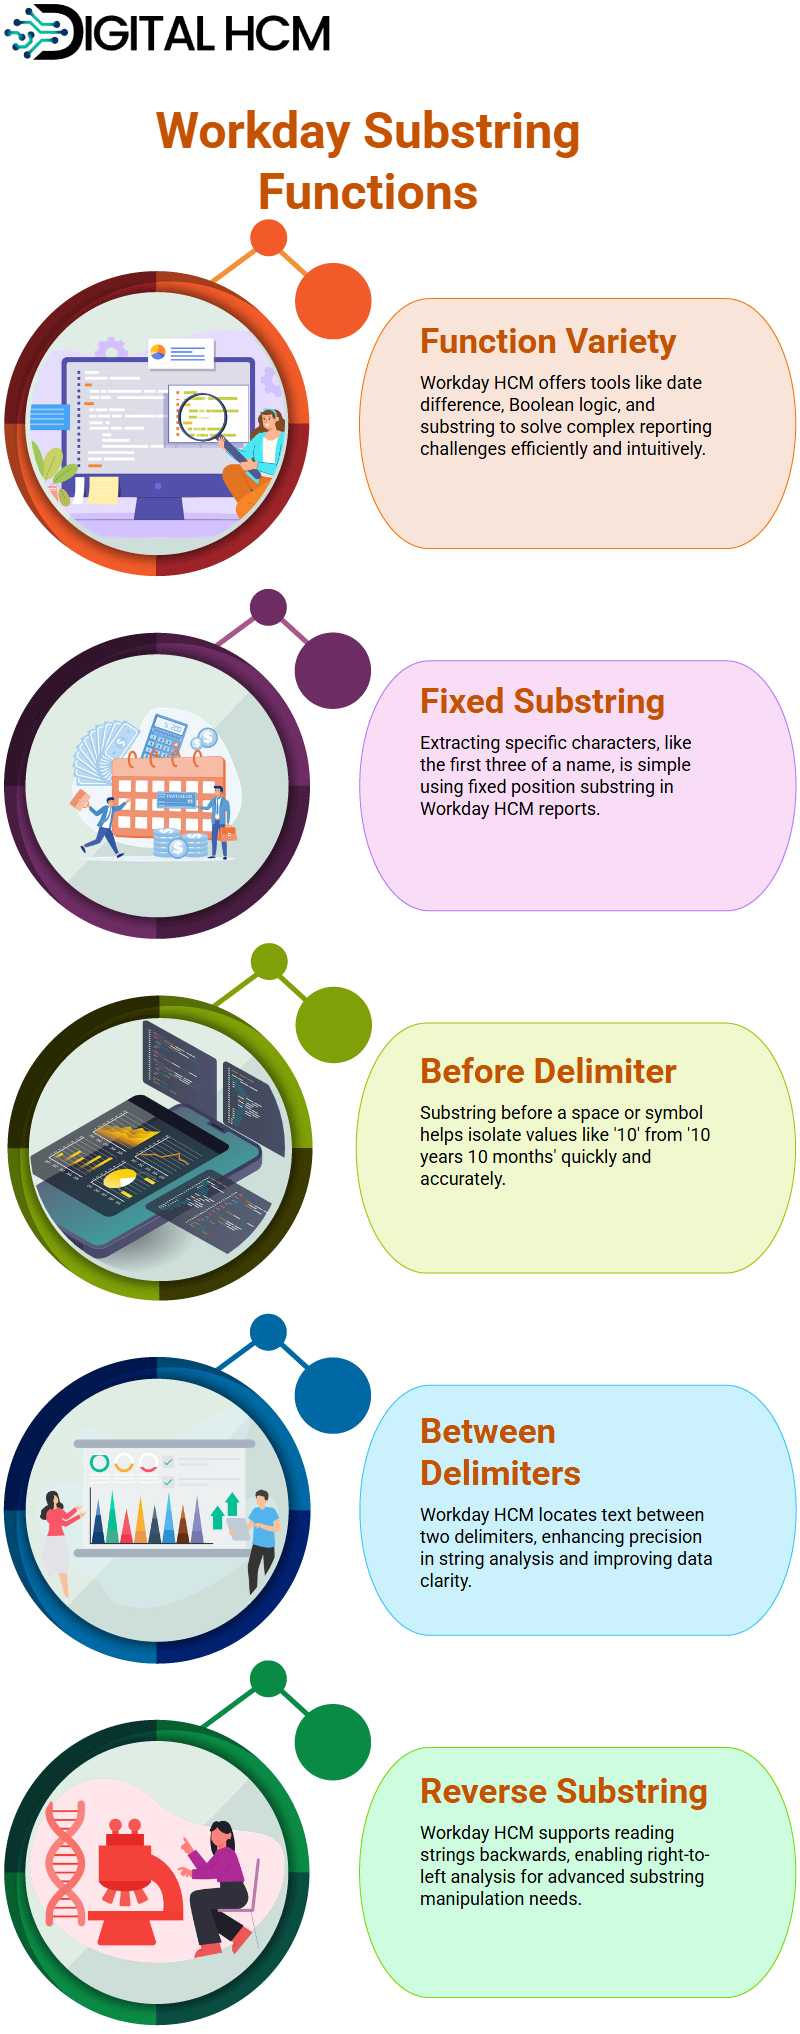
With experience in Workday HCM, several useful functions have been explored, including date difference, Boolean logic, substring, and text-to-number conversion.
These tools go beyond basic functionalities; they empower users to unlock the full potential of Workday HCM and solve complex problems with ease.
Each function contributes uniquely to a seamless reporting experience.
Substring Workday HCM Functions
An essential feature in Workday HCM is the use of substring functions. When creating a calculated field that requires extracting part of a first name, Workday HCM provides a simple and effective method using the substring function.
For example, given the name ‘Christian’ and the need to extract ‘KRI,’ the fixed position substring type is ideal.
By starting from the first character and specifying a length of three, the desired portion of the string is easily obtained. Workday HCM makes this process highly intuitive.
Another valuable option is the substring before a delimiter. When analysing a string like ’10 years 10 months,’ and it’s necessary to extract ’10’ before the first space, Workday HCM can efficiently locate the first occurrence of the space and retrieve all characters preceding it.
This functionality enhances both speed and accuracy in data manipulation.
Substring Workday HCM Techniques
Workday HCM goes beyond basics with its ‘substring between two delimiters’ feature. Consider a scenario where you have the delimiters set as space and comma.
Workday HCM identifies the text between these delimiters efficiently, returning precise results.
Now, what if you need to reverse the direction? Workday HCM supports backwards reading, enabling you to analyse text right-to-left.
This versatility ensures that regardless of the string structure, Workday HCM has a solution for your substring needs.
Every substring type in Workday HCM is designed to optimise your workflow, whether it’s fixed position, before a delimiter, or between two delimiters. It adapts to your specific requirements effortlessly.
Workday HCM and Its Backwards Reading Logic
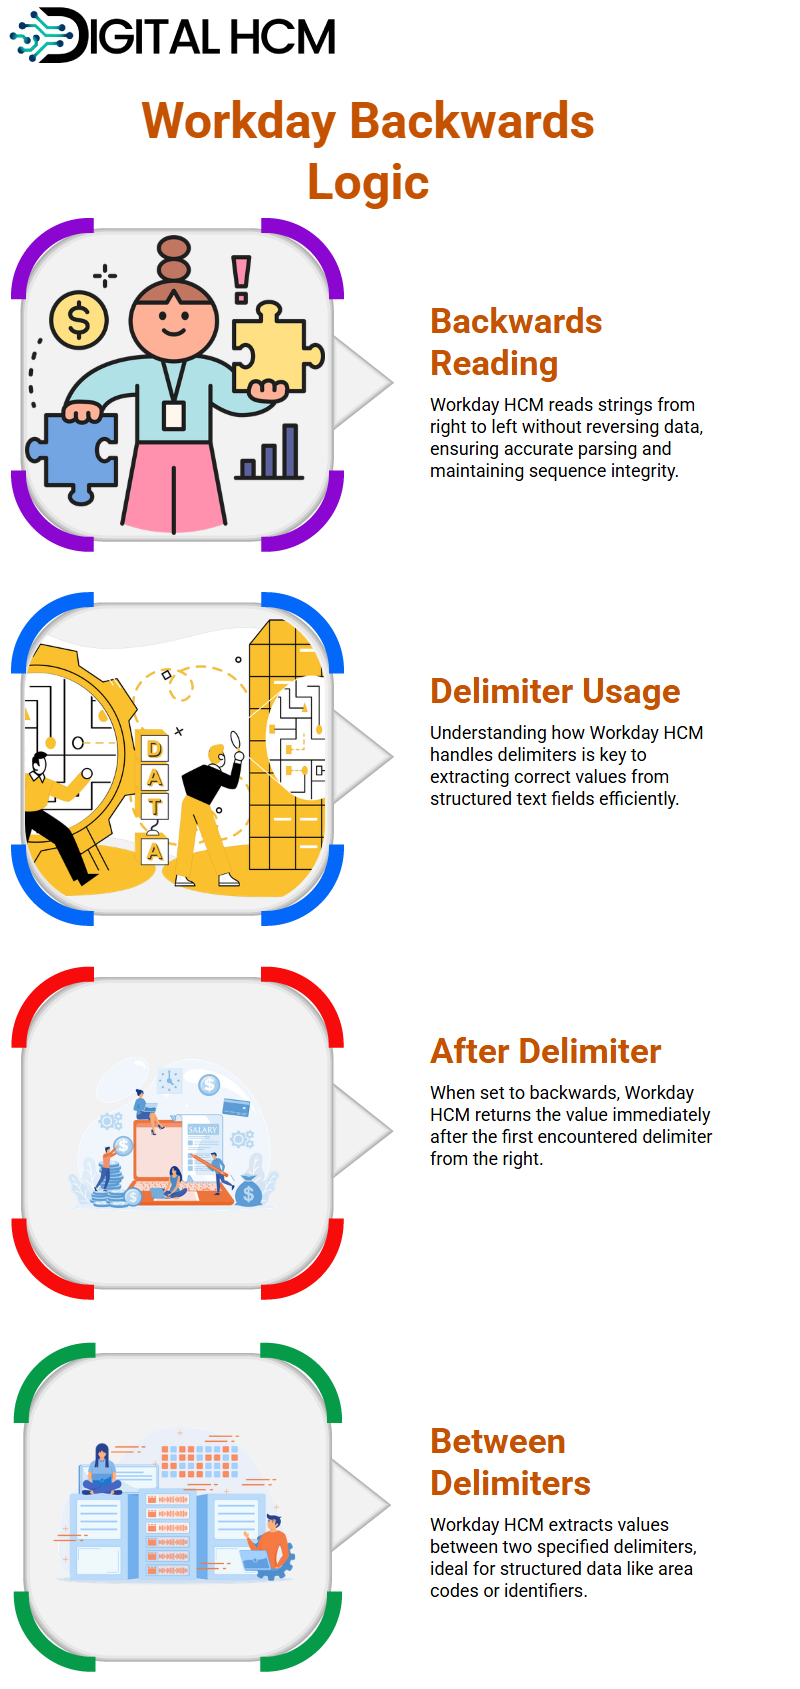
A fascinating part of Workday HCM is its approach to reading and processing data in the backwards direction.
Imagine working with a string where the delimiter is a comma. When the reading direction is set to backwards, the system starts from the rightmost part of the string and moves to the left.
For instance, when analysing a date format like ’12 years, 11 months, and 10 days’, Workday HCM reads from the right to find the delimiter and returns the corresponding value, in this case, ’10 days’.
A common question is why Workday HCM doesn’t return ’01’ when reading backwards. The answer lies in how the system maintains the integrity of the sequence. It reverses the reading direction, not the data itself.
This subtle distinction underscores how Workday HCM prioritises data accuracy while allowing flexible parsing logic.
Using Workday HCM Delimiters Effectively
When working with delimiters in Workday HCM, understanding their function is critical. For example, if the delimiter is a space, and the direction is set to backwards, the system pinpoints the first space it encounters from the right side.
Let’s say the text string includes ‘days’. The system would recognise the space before ‘days’ as the delimiter and return ‘days’ as the result.
It’s worth noting that in Workday HCM, the terms ‘before a delimiter’ and ‘after a delimiter’ are straightforward.
If you choose ‘after a delimiter the system will return the value immediately following the specified delimiter, even when the direction is backwards.
Practical Scenarios with Workday HCM
In real-world applications, you may encounter situations where ‘between two delimiters’ becomes essential.
To extract the area code, Workday HCM allows you to specify the delimiters (‘-‘ in this case) and retrieve the value between them. It’s a powerful feature that simplifies data extraction.
Another common example is handling sensitive information such as Social Security Numbers (SSN). It’s these versatile functionalities that make it a favourite tool for many.
Workday HCM Simplifies Complex Data Needs
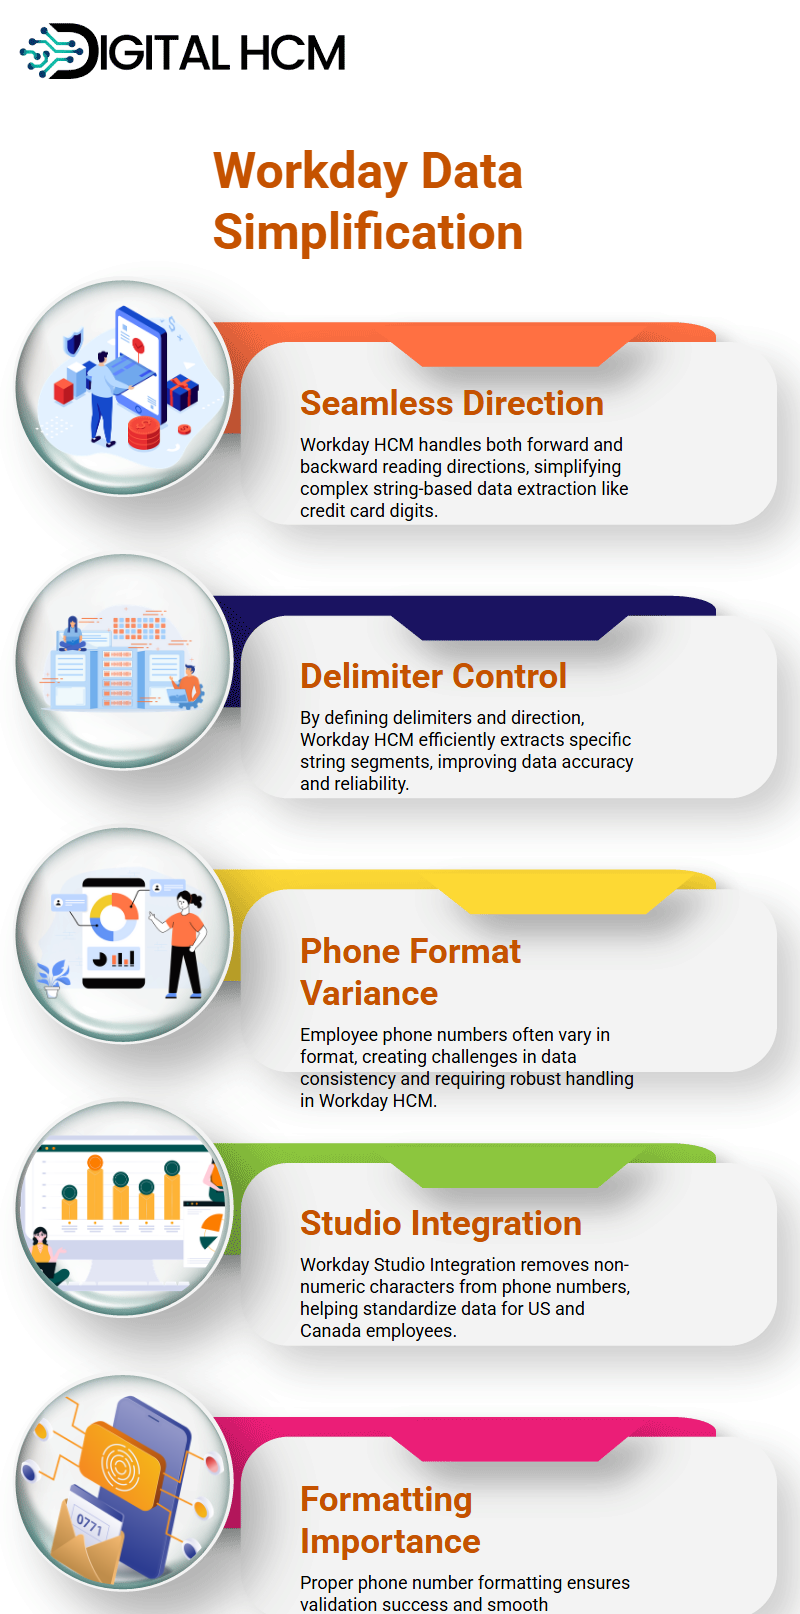
Workday HCM’s ability to handle backwards and forward direction seamlessly reduces complexity in data processing.
Whether you’re dealing with a phone number, credit card details, or any other string-based data, the system’s intuitive approach ensures you get accurate results without a hassle.
For instance, extracting the last four digits of a credit card number using Workday HCM is a breeze.
Define the delimiter, set the reading direction, and the system does the rest. It’s efficient, reliable, and tailored to meet modern data requirements.
Managing Phone Number Formats in Workday HCM
Working with phone number data in Workday HCM can be quite an adventure. Employees often enter their phone numbers in a wide range of formats, making data processing a significant challenge.
When data is sourced from external systems or platforms like Microsoft Excel, inconsistencies become even more pronounced.
In one instance, worker data was received with numerous phone number formats, some included hyphens, such as 550-999, while others lacked any separators.
This variety creates a dilemma for integration consultants, as reading and interpreting such inconsistent inputs in Workday HCM can be extremely complex.
Workers frequently report issues with their phone numbers not loading correctly, leading to confusion and support overhead.
To resolve this, a solution was developed using Workday HCM’s Studio Integration that strips all non-numeric characters from phone numbers.
This approach helped create a cleaner dataset but introduced new challenges, such as accounting for the presence or absence of country codes.
Identifying the correct phone number length became a key part of the process.
Fortunately, the dataset involved only employees from the US and Canada, where phone number lengths are standardised.
In Workday HCM, formatted phone numbers follow a specific structure that includes the country code, area code, and the number itself.
This structure promotes consistency across worker data. Despite Workday HCM offering both formatted and non-formatted phone number fields, variations still occur due to differences in how workers input their numbers, some using brackets and hyphens, others not.
Managing these inconsistencies demands careful attention to detail and creative problem-solving.
Proper phone number formatting is essential during data integration in Workday HCM, especially for validation and downstream processing.
Addressing the challenges posed by inconsistent input formats remains an ongoing task, but Workday HCM provides powerful tools to support and streamline the effort.
Workday HCM and the Length of Service Field
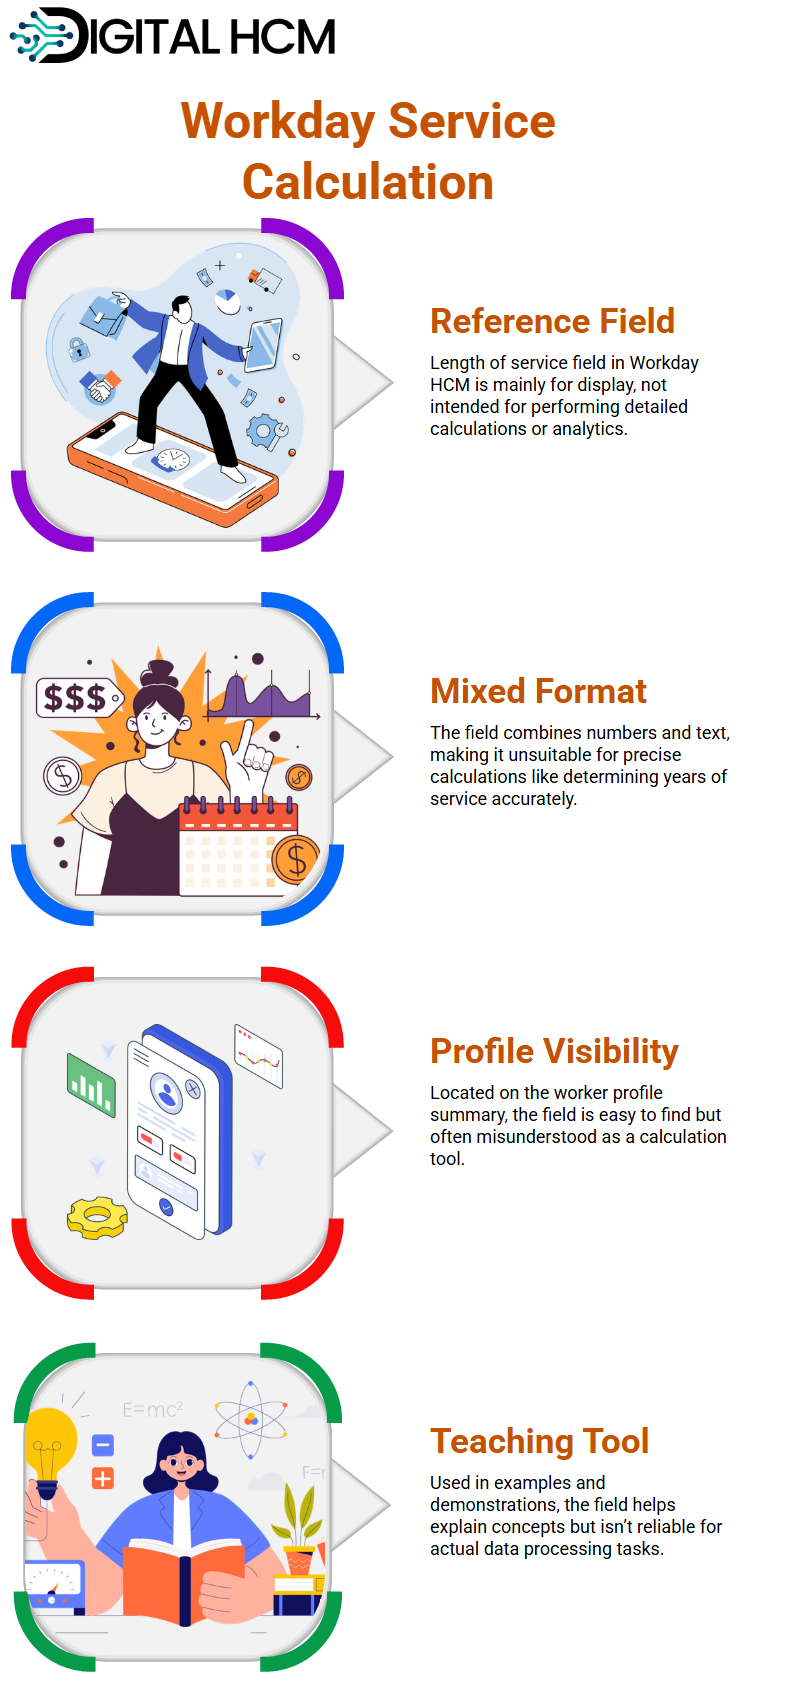
In Workday HCM, the length of service field might catch attention. This is because it appears as a combination of numbers and text, which explains its design.
This field isn’t ideal for heavy calculations. To determine the length of service in years, the logical approach is to calculate the date difference between the hire date and today’s date.
Exploring the Workday HCM Worker Profile
When you log into Workday HCM and open a worker’s profile, you’ll find the length of service field right on the summary page.
It’s right there, easy to spot. Many users might point it out and ask why it isn’t being used for calculations.
They see it displayed prominently and naturally wonder about its utility. However, this field serves primarily as a reference rather than a calculation tool.
Workday HCM for Practical Examples
In Workday HCM, this field is often used as a demonstration tool for specific examples. For instance, you can showcase calculations involving different measurements or scenarios by referencing this field.
It’s a handy way to explain concepts effectively, especially when comparing data before and after certain adjustments.
Efficiency with Workday HCM Date Calculations
If you’re looking to calculate the years of service efficiently within the Workday HCM Course in New York, focus on using the hire date and today’s date.
This approach eliminates unnecessary complexities and ensures accuracy. While the length of service field is visible, it’s more about providing quick reference information rather than being a tool for in-depth calculations.

James

Success in your career comes from curiosity, courage, and consistency. Stay committed, stay curious and never stop learning.